Strolling through Akihabara and getting a global IPv6 address with Starlink + OpenWrt
Hello, I'm Munou.
I finally got a global IP address using Starlink's Bypass mode, something I've been procrastinating on for a long time____.
Strolling through Akihabara
I stopped by a few junk shops, but didn't find anything noteworthy, so I just wandered around.
SSD prices have gone up, haven't they? Since I collect junk PCs, I have dozens of SSDs in the hundreds of GiB range, so I don't need any right now, but I regret not buying TB-class SSDs when they were cheap.
I guess the high semiconductor prices are continuing.


And then, I thought this might be cheap...

Oh?
I looked it up and found:
Qualcomm IPQ5018 2Core
RAM 512MB
It's a relatively recent model, but it seems to support OpenWrt.
[OpenWrt Wiki] Techdata: Linksys MX2000
I don't really know much about router SoCs anymore, but I figured 2 cores is fine... just going with the flow.
There aren't many routers under 10,000 yen that can run OpenWrt and have 512MB of RAM, so I bought it.
Linksys MX2000
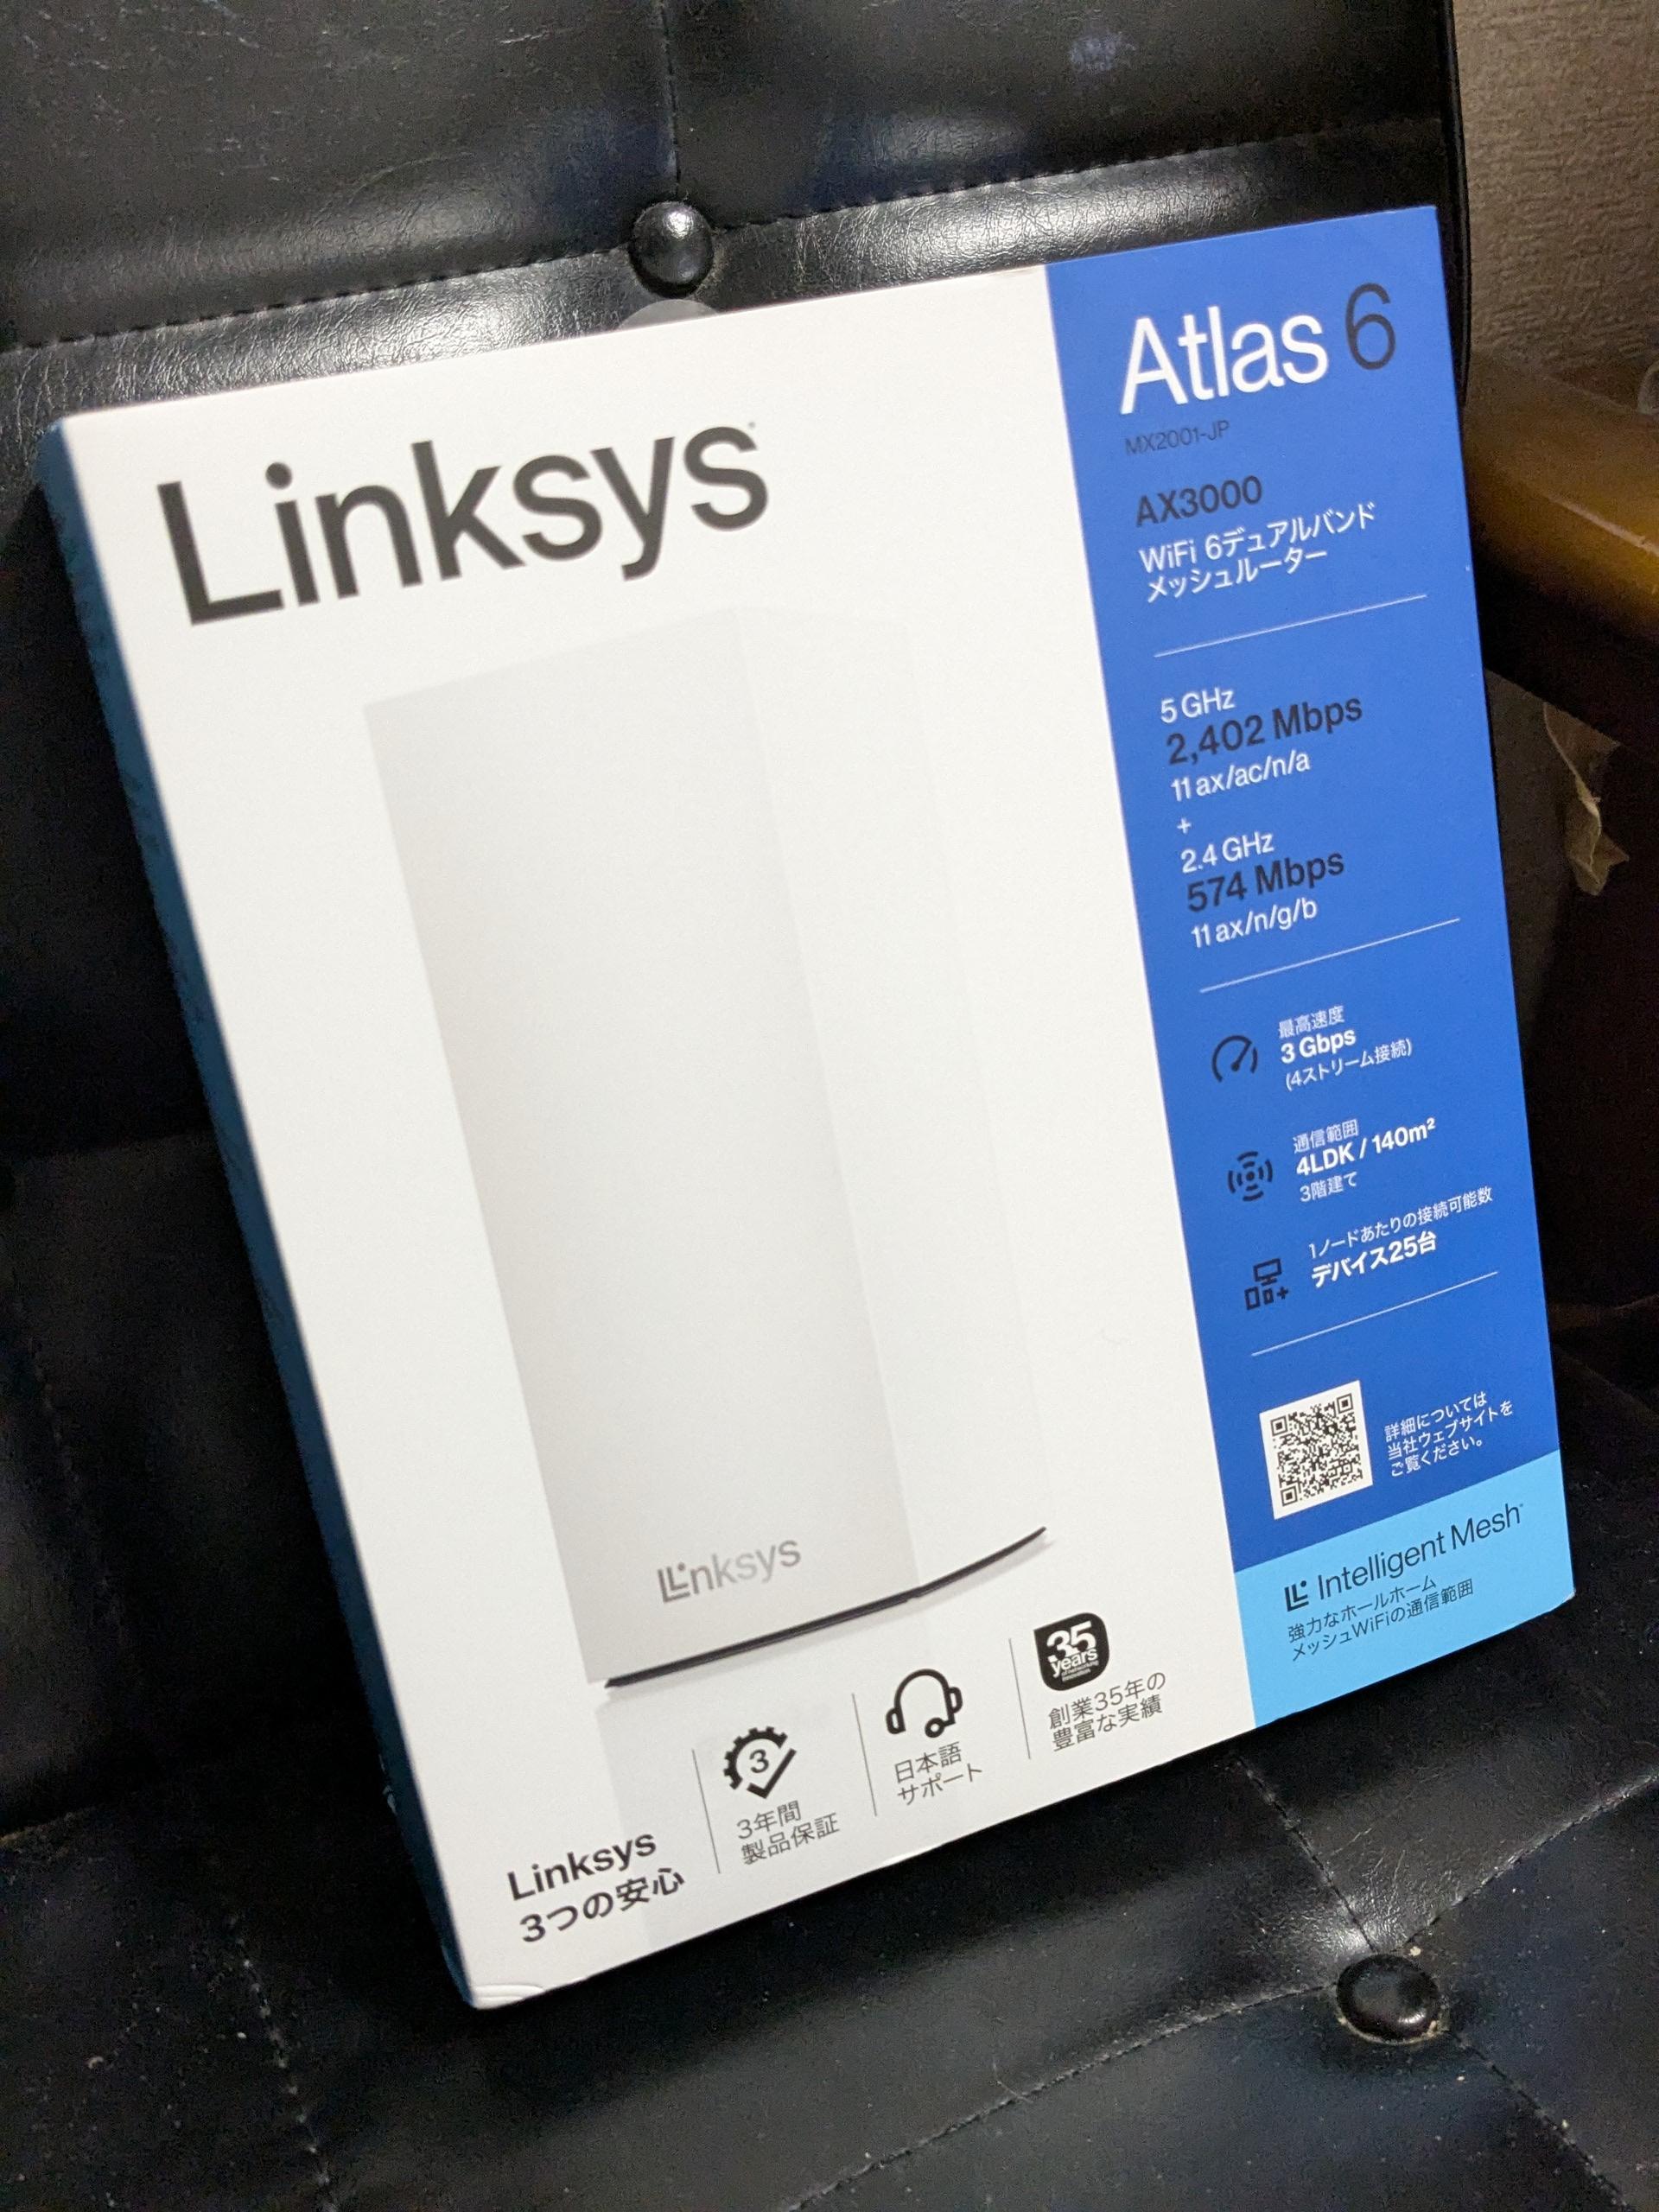
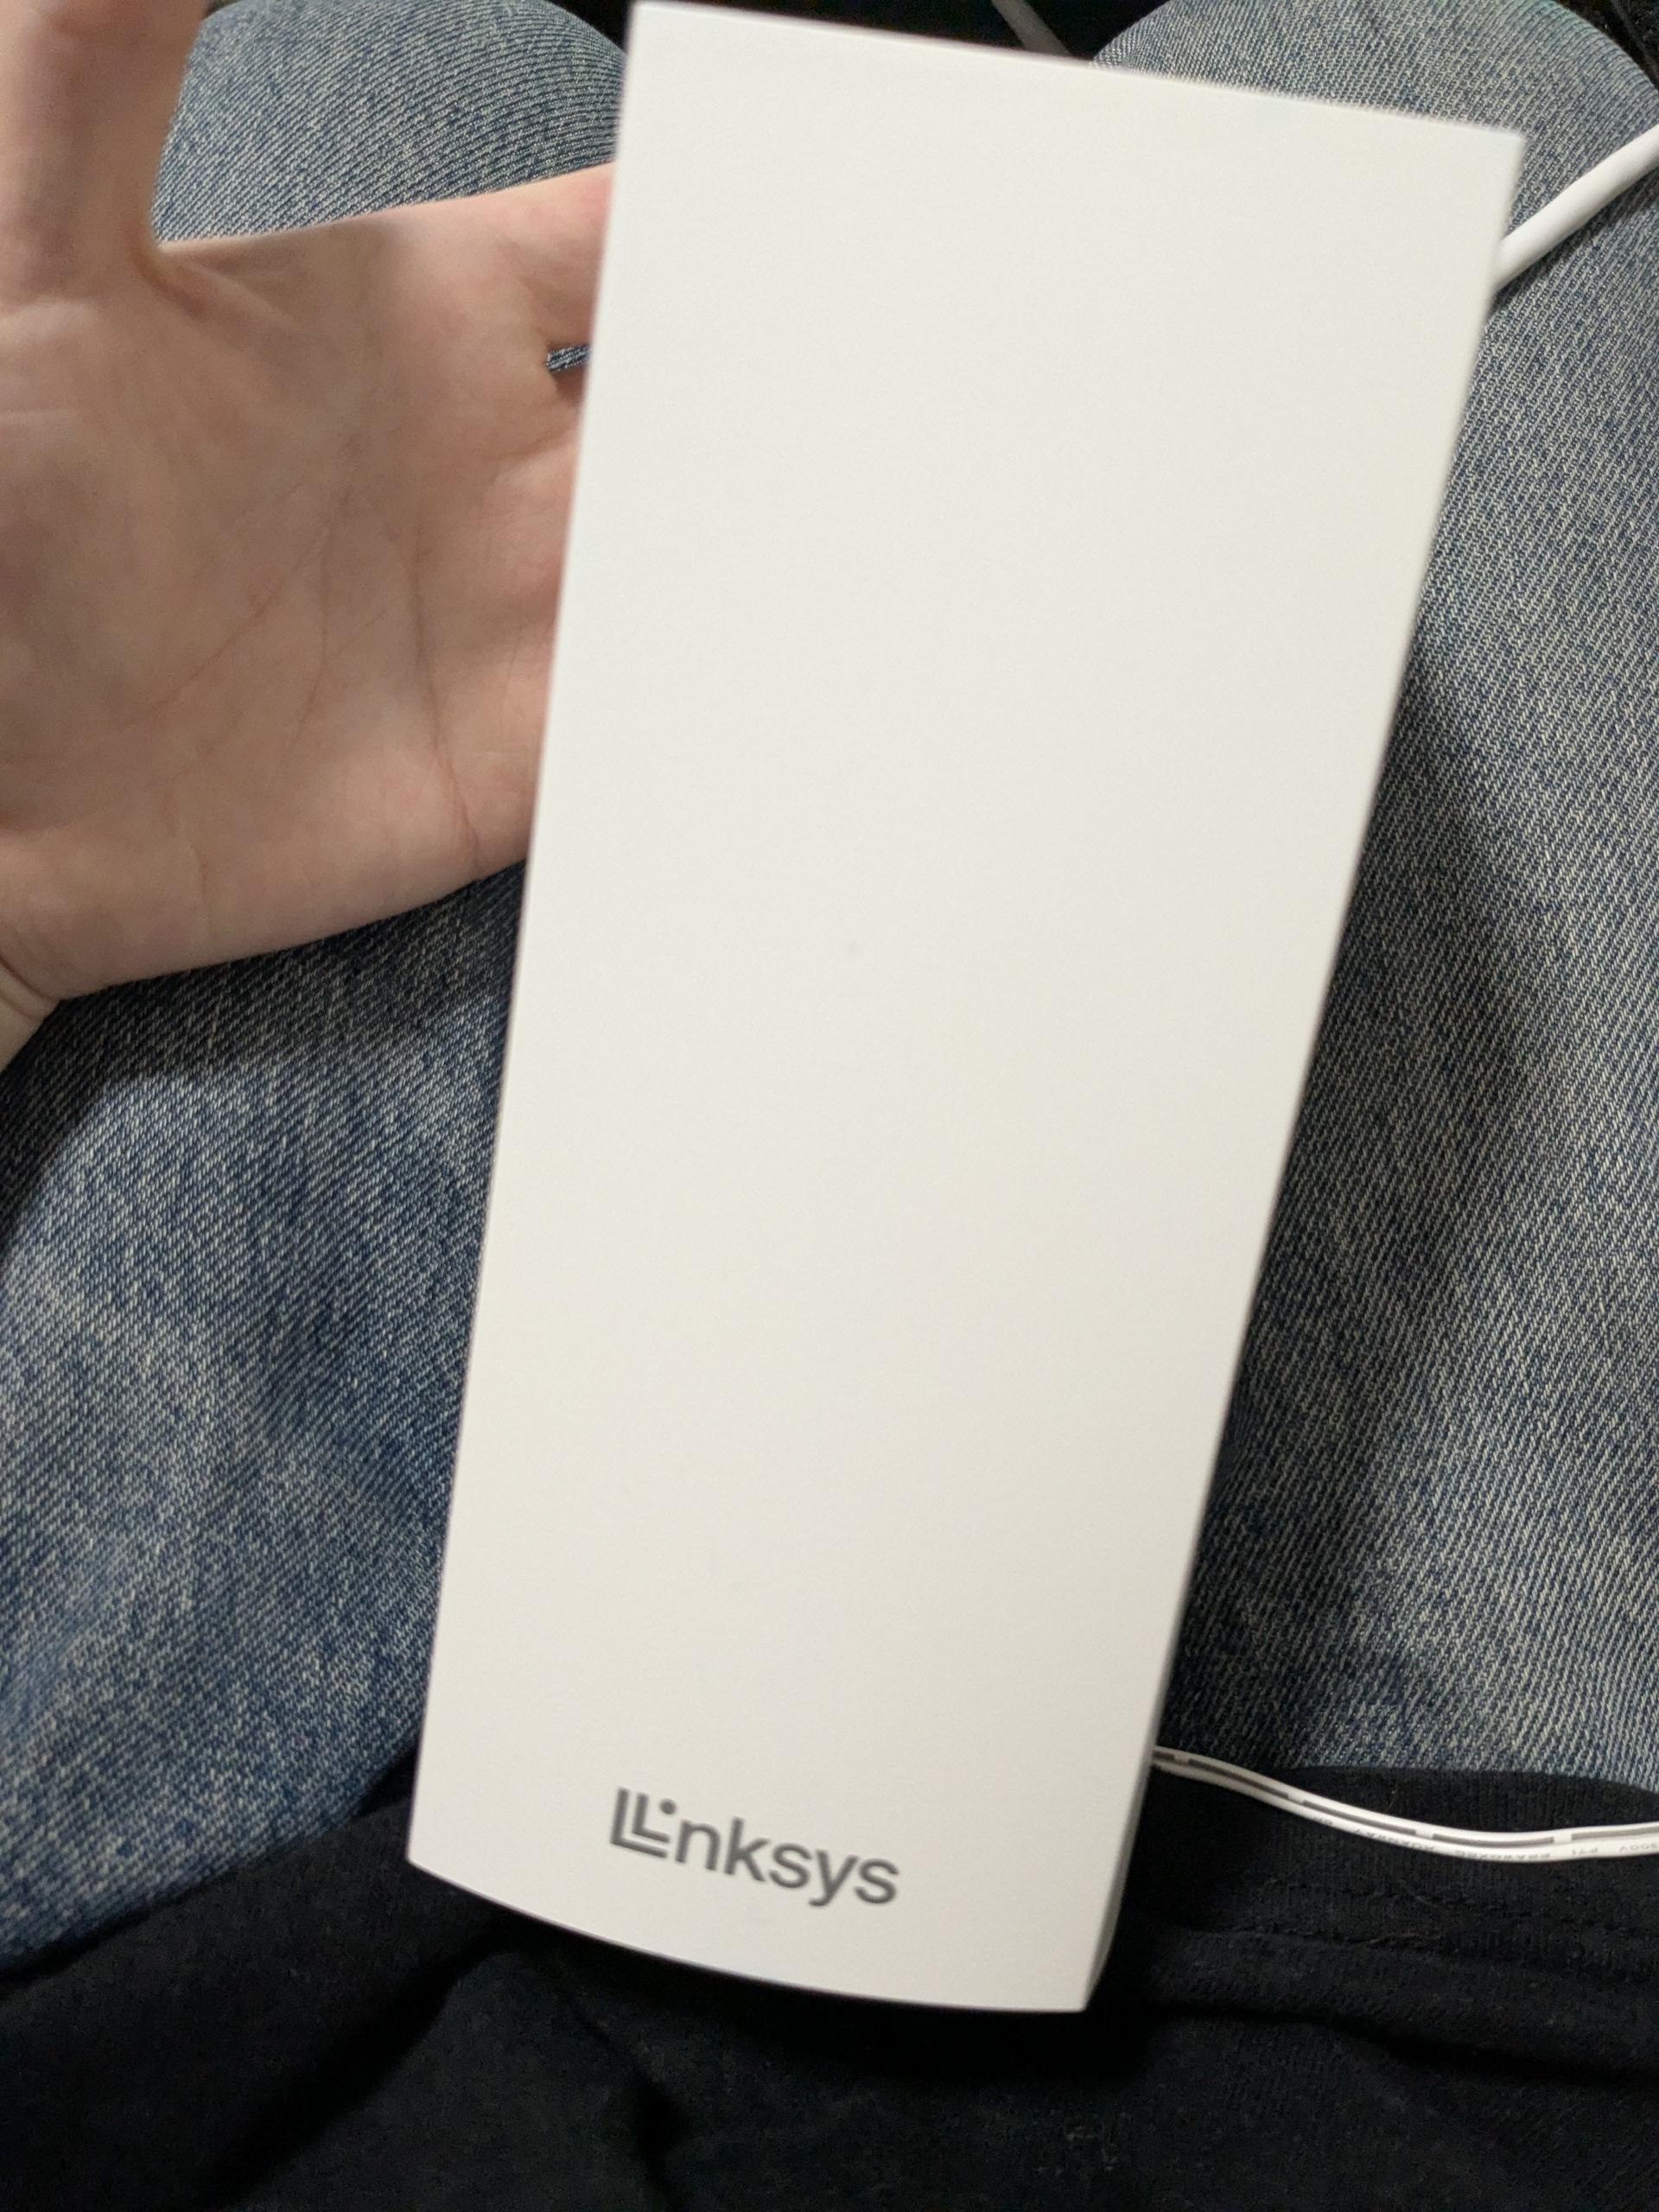
Small and cute. It has four RJ45 terminals: three LAN ports and one WAN port.
So, I'm flashing OpenWrt. I was grateful for this article as it summarized everything very simply.
Linksys MX2000 - OpenWrt
I flashed the image from the latest OpenWrt Wiki.
As for writing the sysupgrade image, I simply uploaded and flashed it from the LuCI WebUI.
I did the following to complete the basic setup:
Allow SSH only with public keys
Deny SSH from the WAN side
Tweaked the kernel parameters a bit
Re-enabled and configured the Wi-Fi, which was disabled by default
Enabled irqbalance
etc.
I had confirmed that there would be plenty of memory headroom with FreeBSD, so the usage was about as expected.
~# free -h
              total        used        free      shared  buff/cache   available
Mem:         442860      203588      180296        2224       58976      186768
Swap:             0           0           0
Once this was done, the minimum setup was complete, so I connected it to the Starlink side, enabled Bypass mode to disable Starlink's router functions, and set it up to use another router—in this case, the MX2000 OpenWrt router.
Distributing IPv6 Addresses
I know IPv4 is impossible due to CGNAT shared addresses, so I won't bother with it.
/etc/config/network
~~omitted~~
config interface 'lan'
        option device 'br-lan'
        option proto 'static'
        list ipaddr '192.168.1.1/24'
        option ip6assign '64'

~~omitted~~
config interface 'wan6'
        option device 'wan'
        option proto 'dhcpv6'
        option reqaddress 'try'
        option reqprefix 'auto'
Now, just check the IPv6 address on the client side as well using the following:
ip -6 addrI tested it by allowing an HTTP page on a specific port via the IPv6 address on the OpenWrt side, and it worked, so that's it.
The rest is to periodically announce this router's IP address, link it to an AAAA record, and set up a WireGuard server.
This way, for the WireGuard client's server endpoint, you just need to specify the domain linked to the AAAA record to connect to your home WireGuard server.
The benefit of this is that I don't have to worry about bandwidth limits. I currently have a WireGuard server hosted on ConoHa, but the bandwidth is limited to a maximum of 100Mbps. Since it's a Starlink connection, there's no longer a noticeable speed difference anyway...
Actually, the installation was easier than I thought, and I found the operations via the WebUI to be quite easy to perform.
I now understand a bit better why people go out of their way to buy an OpenWrt-compatible router to flash it, rather than just flashing OpenWrt to extend the life of an old router.